Custom-made
Ready-to-Press HTV / DIY Iron-On Transfers
Buddy cuts and weeds. You apply it.
Heat transfer vinyl for your own fabric projects. Choose an existing or custom design, size, color, quantity, and compatible material. Buddy cuts and weeds the transfer, then sends it on its carrier sheet for you to apply with an iron or heat press.
- DIY only — no done-for-you pressing
- Cut and weeded on its carrier sheet
- Material compatibility reviewed before making
Real work by Buddy T's
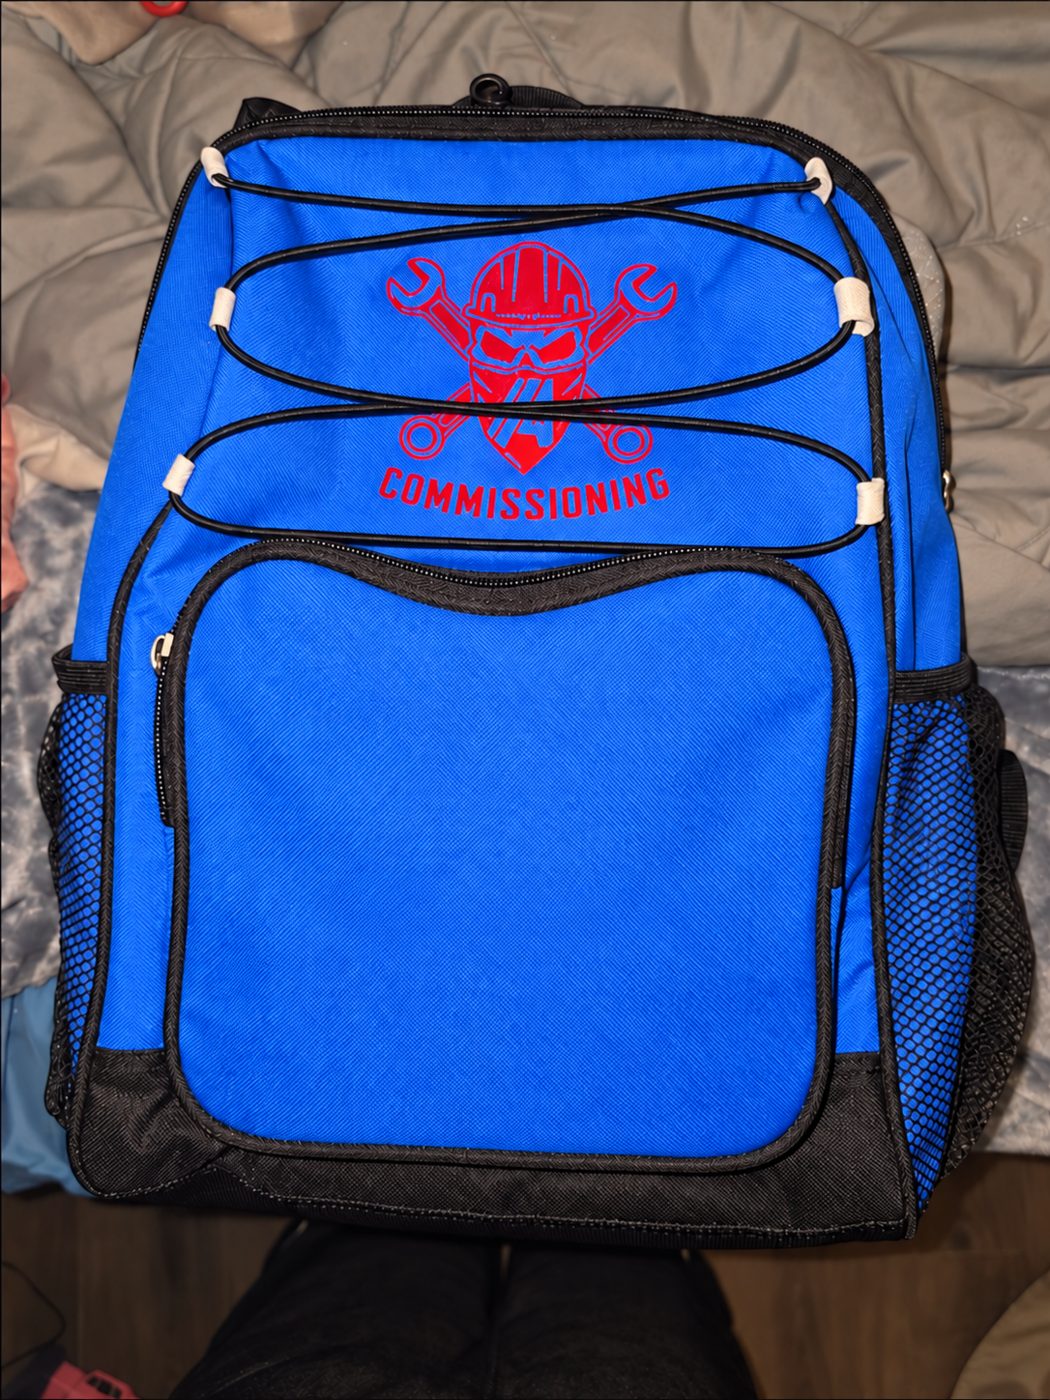
Real finished example
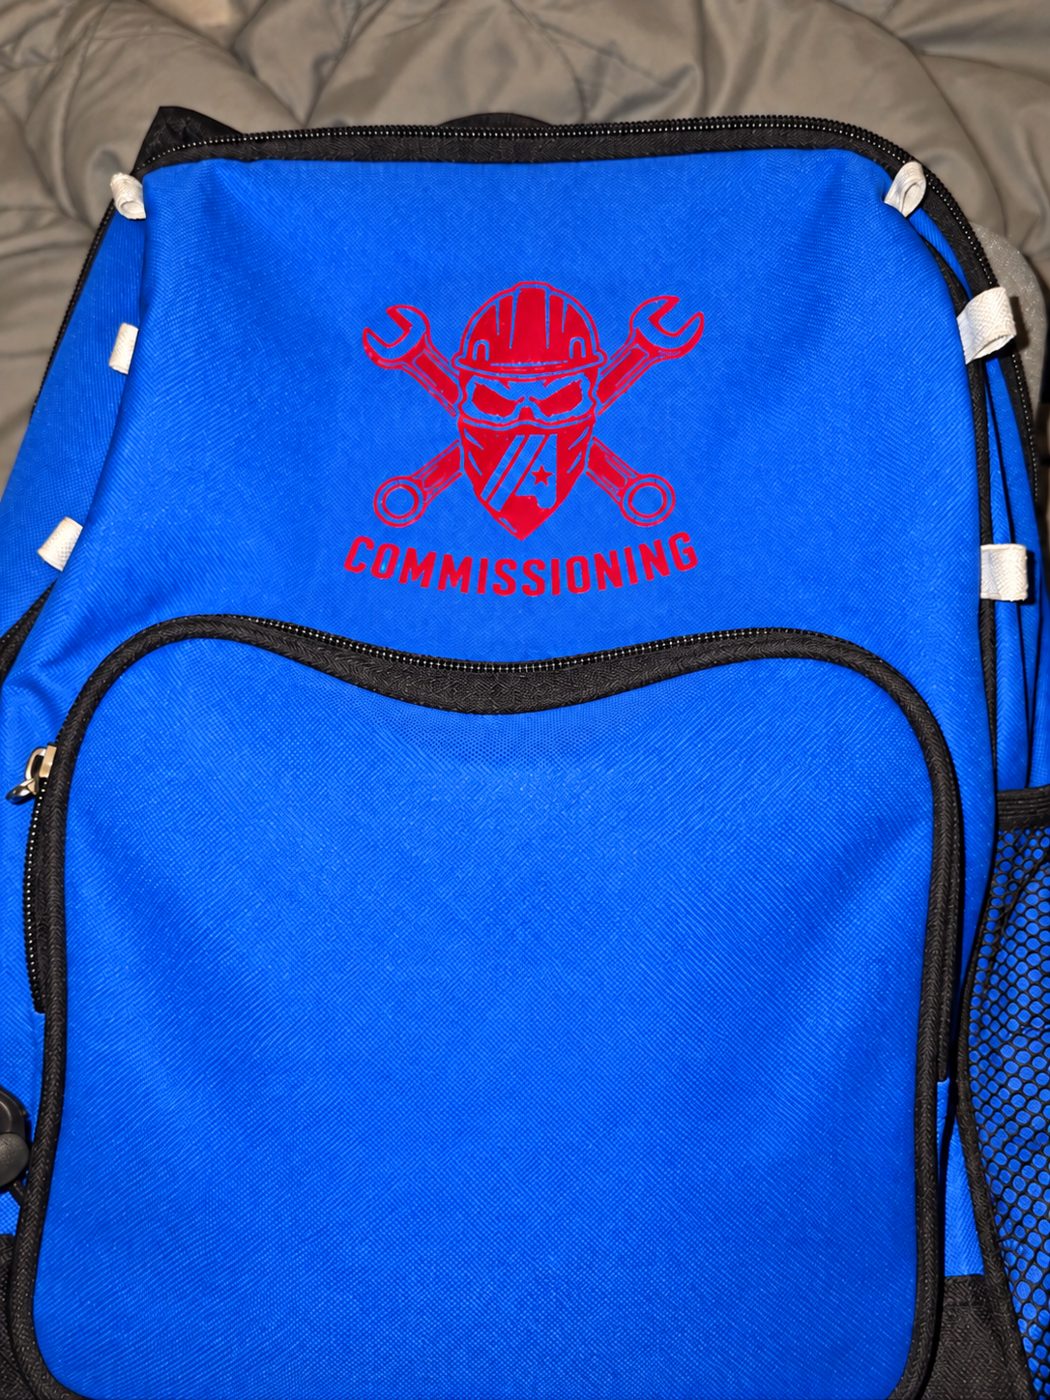
A ready-to-press red HTV design, applied to a blue backpack.
How ready-to-press works
- 1Choose an existing or custom design, size, color, quantity, and compatible HTV material.
- 2Buddy cuts, weeds, and checks your design, leaving it on the carrier sheet.
- 3Your ready-to-press transfer is sent to you.
- 4You apply it to your own item with an iron or heat press using the selected material's instructions.
Pressing is DIY, not a studio service. Time, temperature, pressure, peeling, and care instructions depend on the exact HTV brand and material; no universal settings are promised.
Your finished fabric project
The transfer becomes part of your shirt, tote, or other compatible fabric item after you apply it. The real finished example below shows a red HTV design applied to a blue backpack.